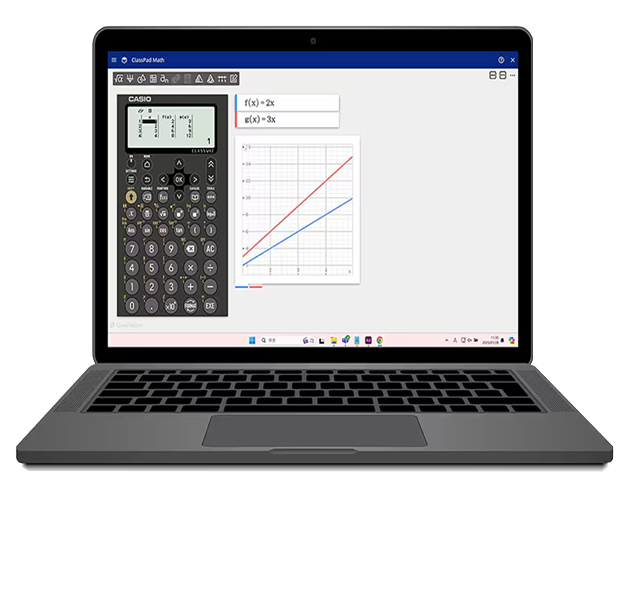
ClassWiz Emulator
for use with ClassPad Math
A scientific calculator emulator that offered as part of ClassPad.net.
Works with ClassPad.net's features and makes courses that use ICT tools easier.
Features

- ClassWiz Emulator for use with ClassPad Math can be used with various operating systems via an Internet connection.
- Allows you to simply and easily show students your screen and what you're doing by projecting it during class, making lessons more streamlined.
- Graphs and text can be displayed simultaneously on ClassPad Math, so you can conduct classes with just one window open.
- See here for compatible models.
How to Access
1 Go to the ClassPad.net page.
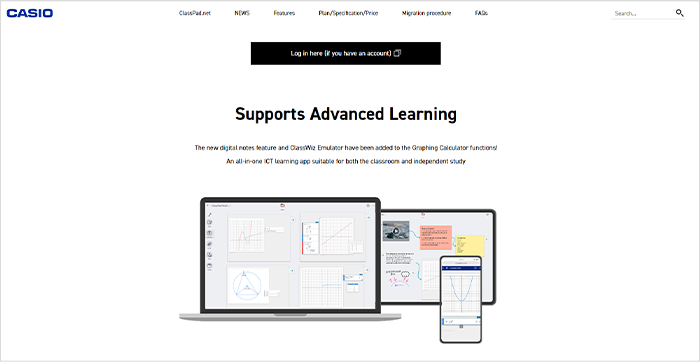
2 Create an account and log in.
If you already have an existing account, please use that to log in.

Creating an Account
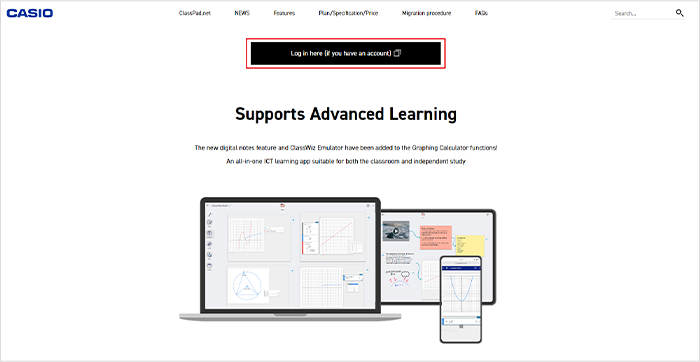
2-1Click “Log in here (if you have an account).”
2-2Click “Not A Member Yet? Create an Account.”

2-3Click “CONTINUE.”

2-4After filling out the necessary items, click “SUBMIT.”

2-5You will receive an authentication code. Follow the on-screen instructions and input the authentication code to complete authentication.
See more
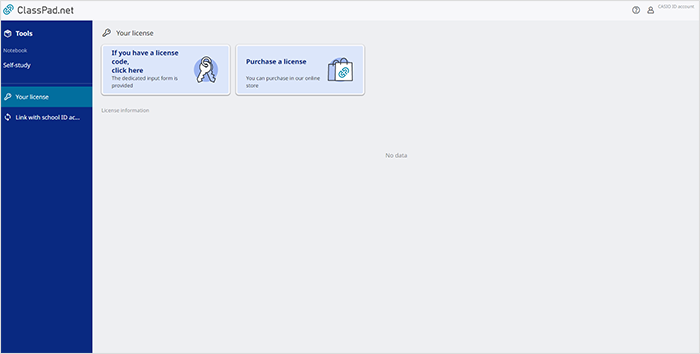
3 On the screen that shows after you have logged in, activate your license from the “Your license” menu.
License Activation Procedure
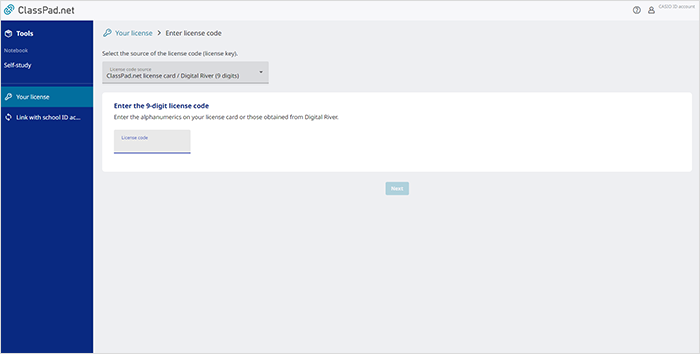
3-6Click “If you have a license code, click here.”

3-7Input both the source of the license code and the license code and click “Next.”
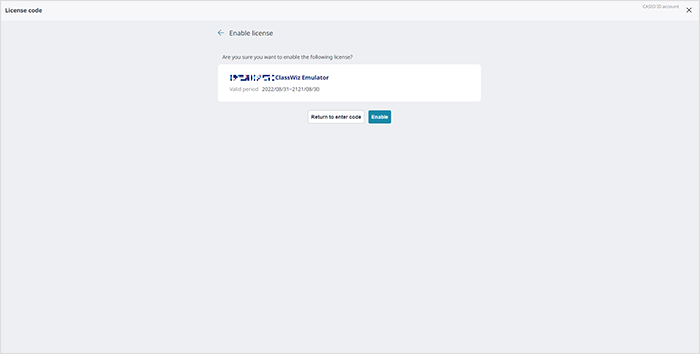
3-8A screen stating “Are you sure you want to enable the following license?” will appear. Confirm that the license information is accurate and click “Enable.”
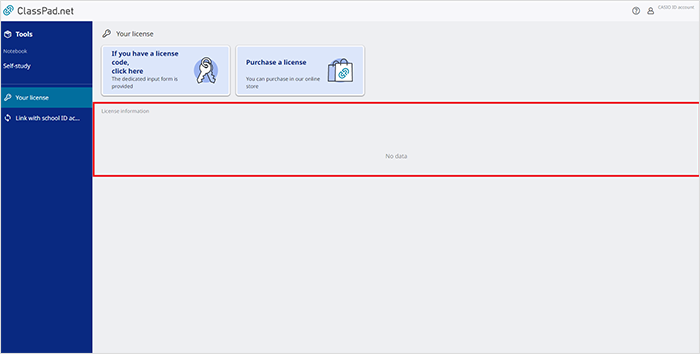
3-9If the license information is displayed correctly on the “Your license” menu, the activation is complete.
*License information is displayed in the red-framed area on the example screen.
See more
4 Select Tools.
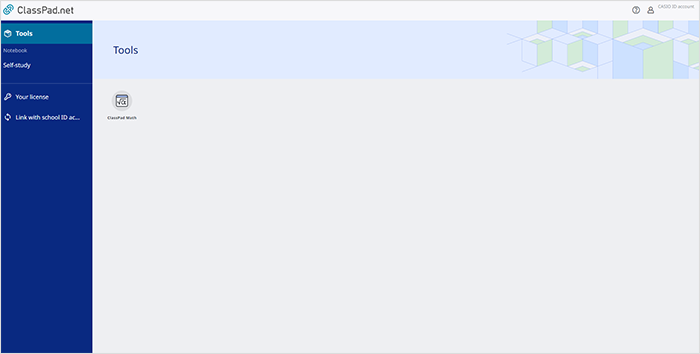
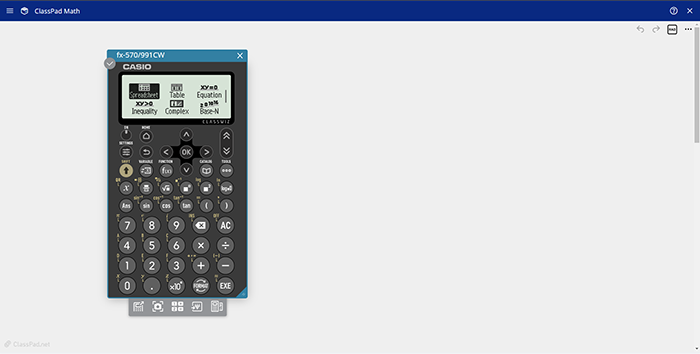
5 Start up ClassPad Math.
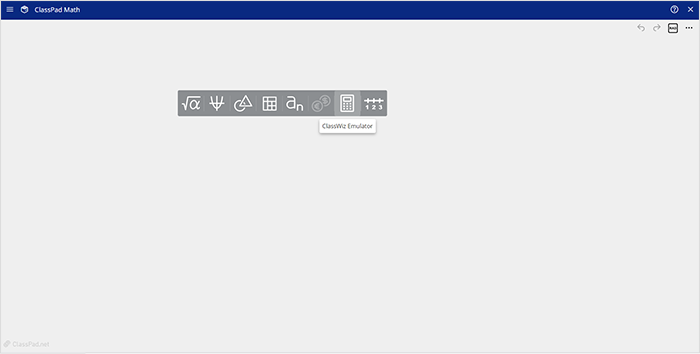
6 Click the ClassPad Math screen (Paper) to display the Sticky Note (feature) menu.
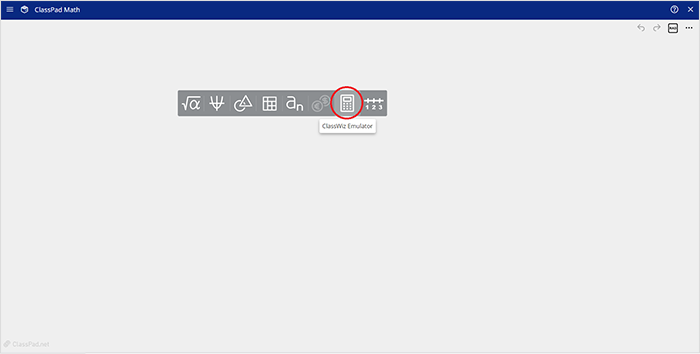
7 Click the Calculator Emulator icon.
8 Select the model you are going to use (only necessary when using for the first time).
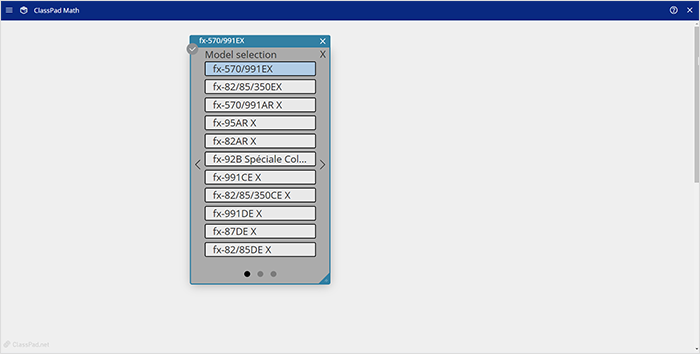
9 Calculator Emulator will start up.
It can also be started up via the Notebook feature in ClassPad.net.
1 Proceed through the above steps 1 to 5.
2 Select Self Study under Notebook.
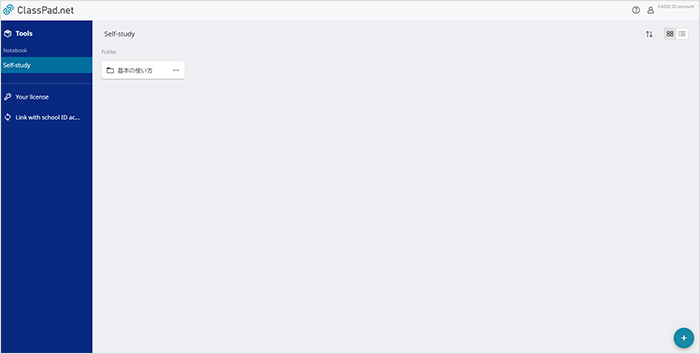
3 Create a new Notebook.
How to Create a New Notebook
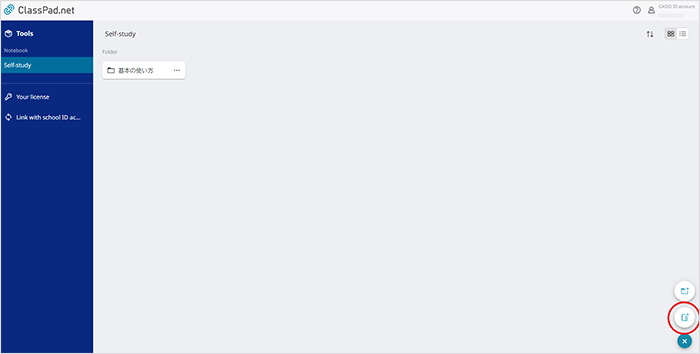
3-1Click  at the bottom-right of the screen.
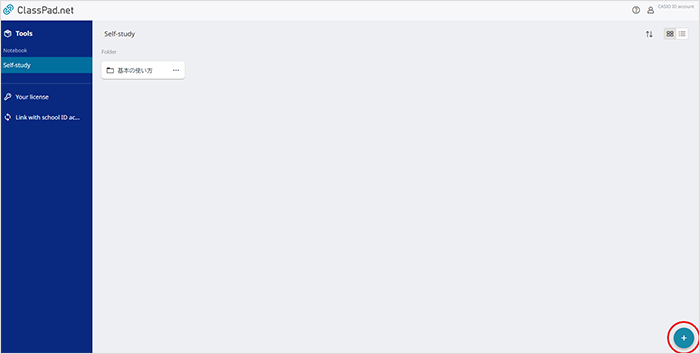
3-2 and
and  will appear. Click .
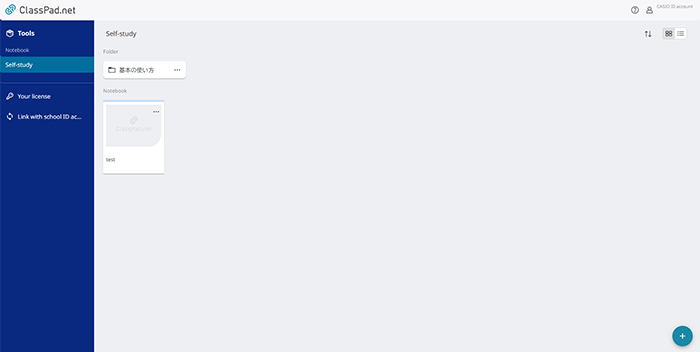
3-3Choose a name for the Notebook.

3-4A new Notebook will be created.

See more
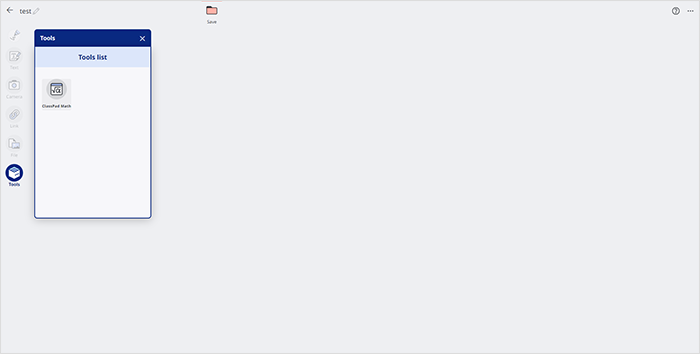
4 Open the Notebook and click Tools.

5 From Tools, start up ClassPad Math.
6 Start up Calculator Emulator, following the process laid out from step 8 onward that is listed above.
See more