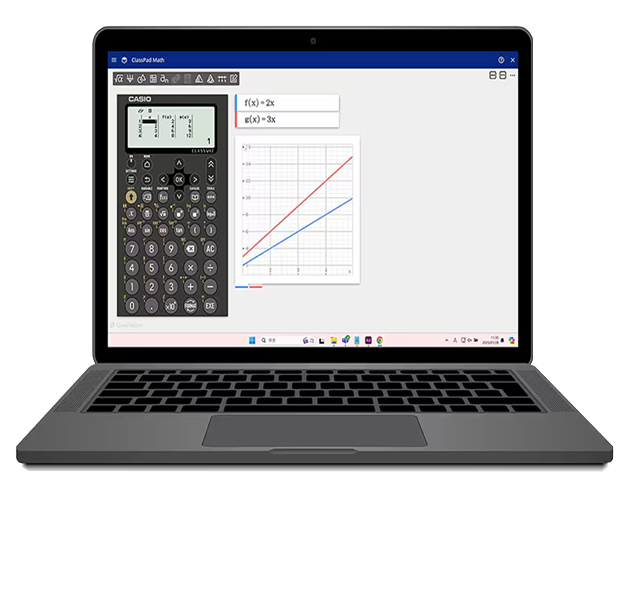
適用於 ClassPad Math 的 ClassWiz Emulator
提供於 ClassPad.net 的科學型計算機模擬器。
可與 ClassPad.net 的功能搭配運用,讓使用 ICT 工具的課程更輕鬆上手
功能

- 適用於 ClassPad Math 的 ClassWiz Emulator 可透過網際網路連線,在多種作業系統上使用。
- 讓您在上課時投影螢幕,輕鬆簡單地向學生顯示您的螢幕和進行中的項目,使課程更為簡化。
- 圖表和文字可同時顯示於 ClassPad Math,讓您只要開啟一個視窗就能授課。
- 請參閱此處以瞭解相容的機型
如何存取
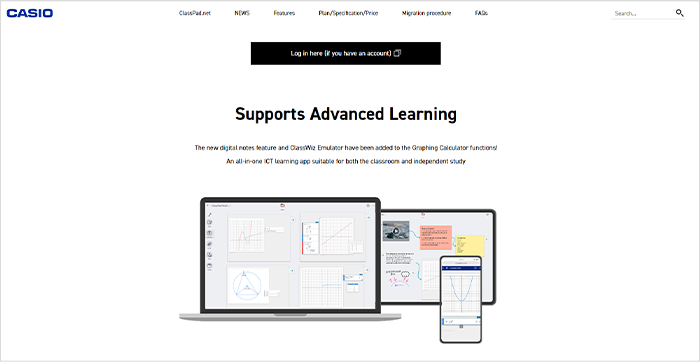
1 前往 ClassPad.net 頁面。
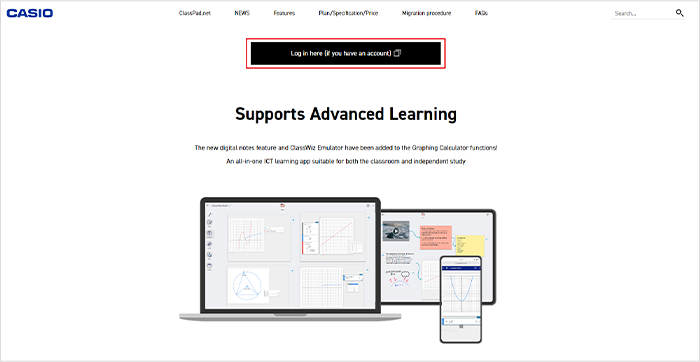
2 建立帳戶並登入。
如果您已有帳戶,請使用該帳戶登入。

建立帳戶
2-1按一下 [CASIO ID]。
2-2按一下 [Not A Member Yet? Create an Account。]

2-3按一下 [CONTINUE]。
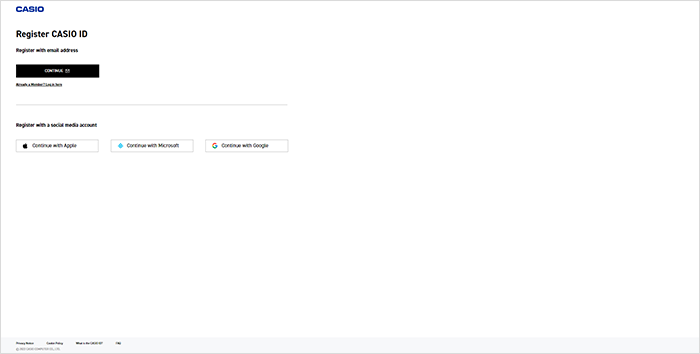
2-4填寫必要的項目後,請按一下 [SUBMIT]。
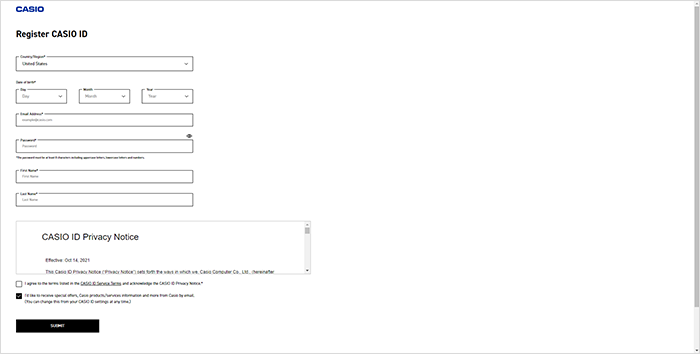
2-5您將會收到驗證碼。請依照螢幕上的指示操作,並輸入驗證碼以完成驗證。
深入瞭解
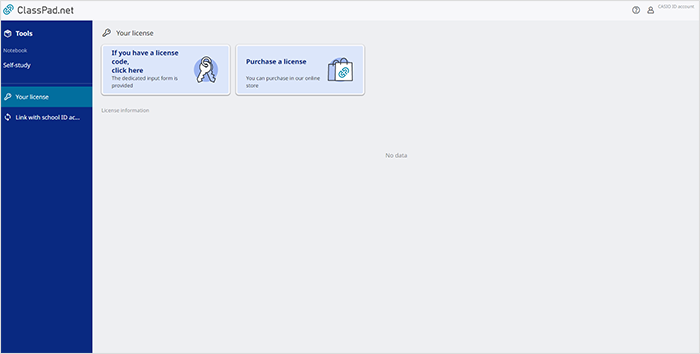
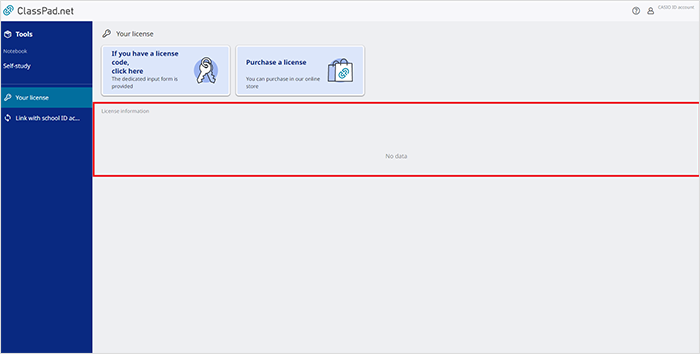
3 在您登入後顯示的畫面上,從 [Your license] 功能表啟動您的授權。
授權啟動程序
3-6按一下 [If you have a license code, click here]。

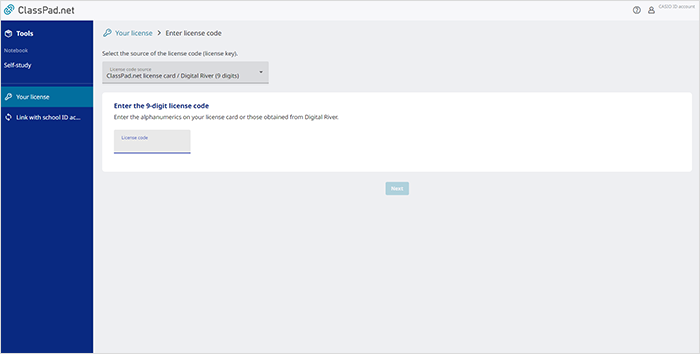
3-7輸入source of the license code和license code,然後按一下 [Next]。
3-8[Are you sure you want to enable the following license?] 的畫面隨即出現。請確認授權資訊正確無誤,然後按一下 [Enable]。
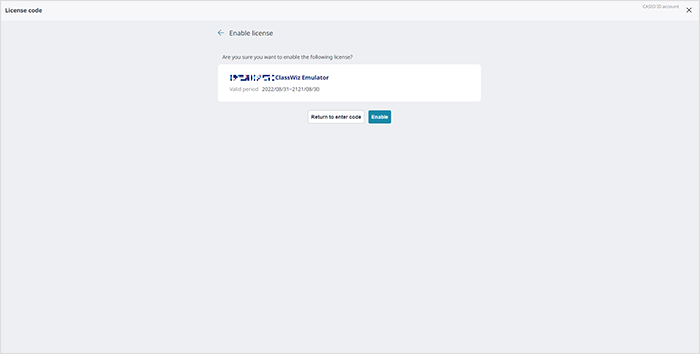
3-9若 License information 正確顯示在「Your license」功能表上,則表示啟動完成。
*License information 會顯示在範例畫面上的紅框區域。
深入瞭解
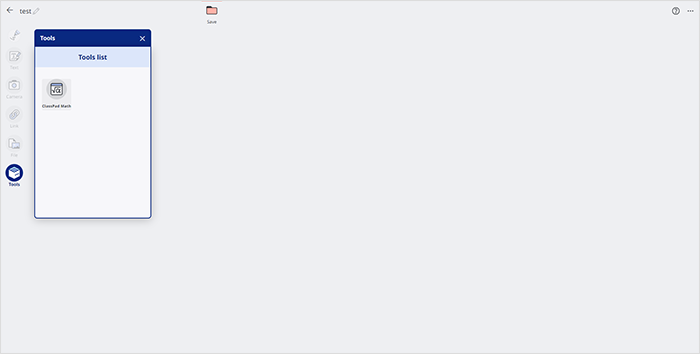
4 選擇 Tools。
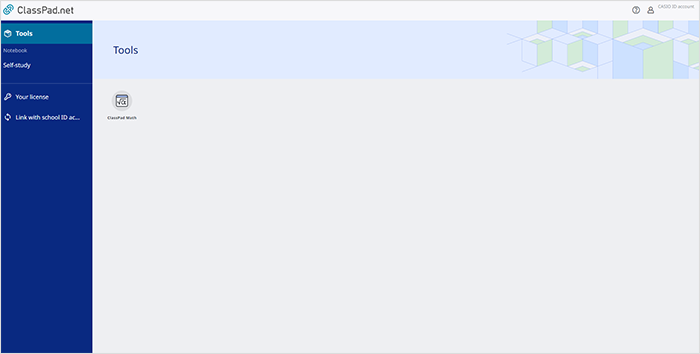
5 啟動 ClassPad Math。
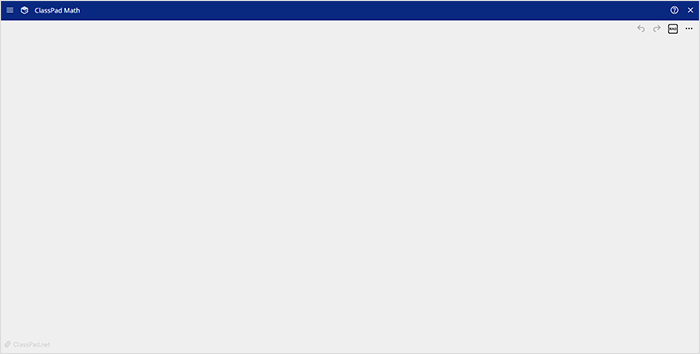
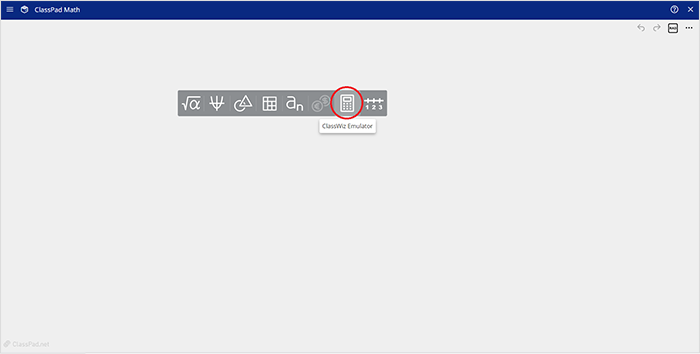
6 按一下 ClassPad Math 畫面(紙張)以顯示 Sticky Note (功能)功能表。
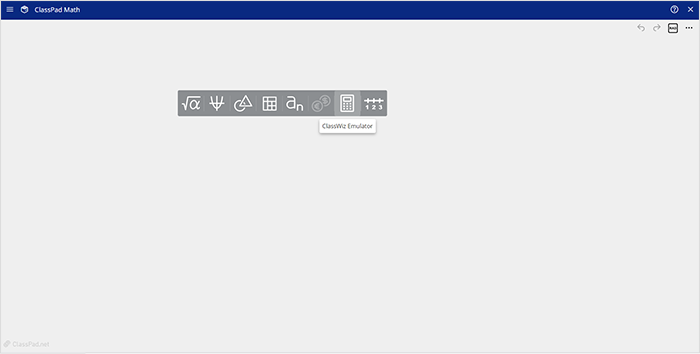
7 按一下 計算機 Emulator 圖示。
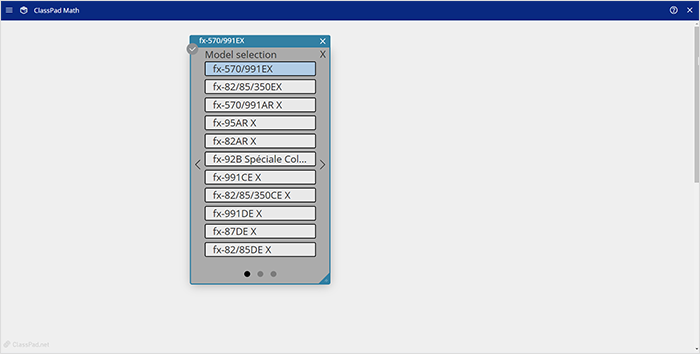
8 選擇您要使用的機型(僅在第一次使用時需要進行選擇)。
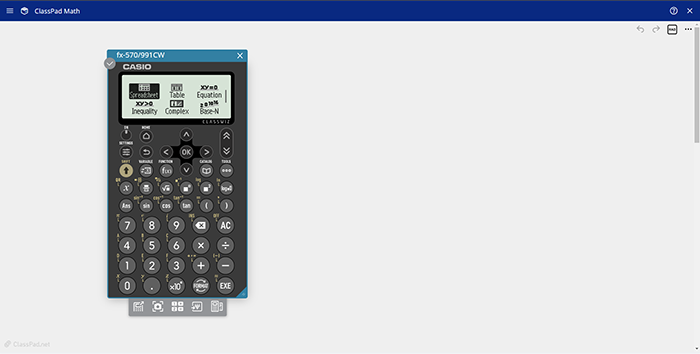
9 計算機 Emulator 隨即啟動。
您也可以透過 ClassPad.net 中的 Notebook 功能將其啟動。
1 繼續進行上述步驟 1 至 5。
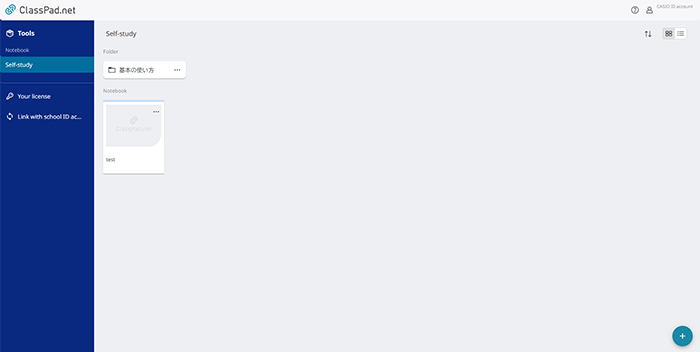
2 選擇 Notebook 底下的 Self Study。
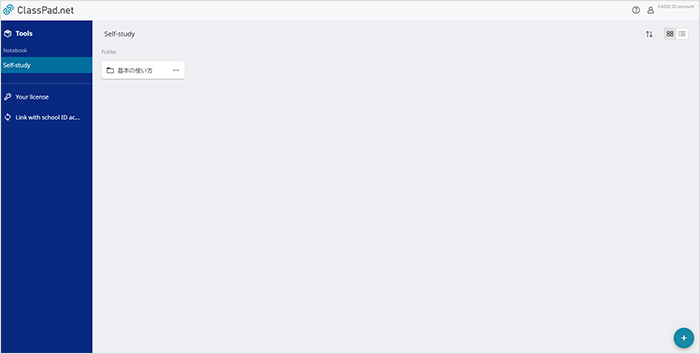
3 建立新的 Notebook。
如何建立新筆記本
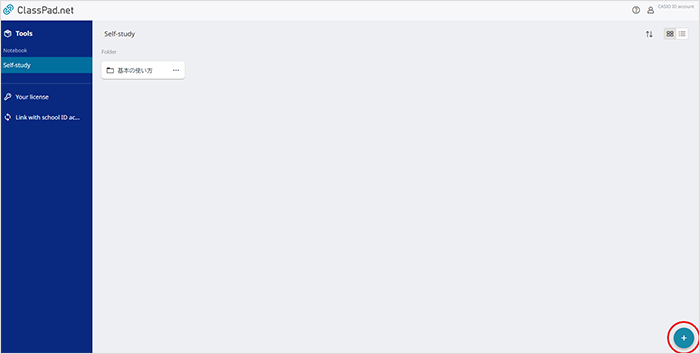
3-1按一下畫面右下角的  。
。
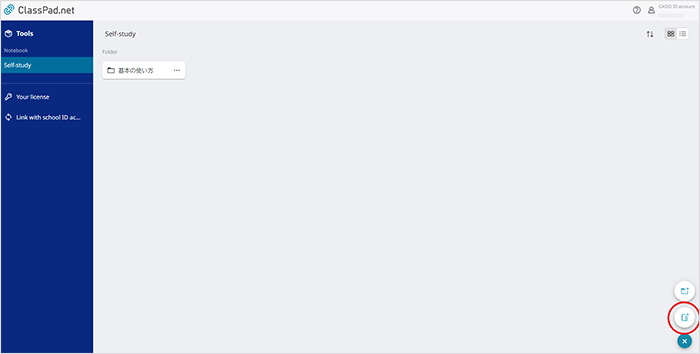
3-2 和
和  隨即出現。按一下 。
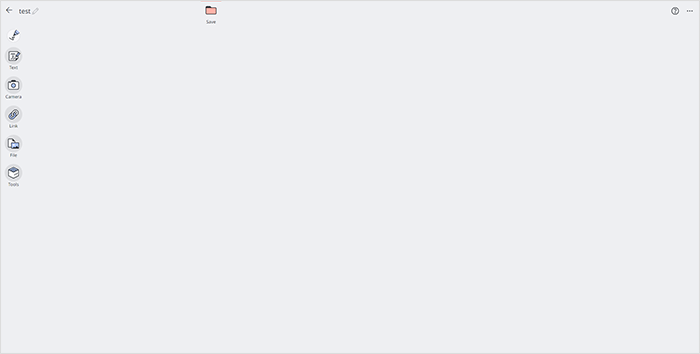
3-3為 Notebook 選擇一個名稱。

3-4新的 Notebook 隨即建立。

深入瞭解
4 開啟 Notebook 然後按一下 Tools。
5 從 Tools 啟動 ClassPad Math。
6 依照上面列出的程序,從步驟 8 開始操作,啟動 計算機 Emulator。
深入瞭解